

Uploading Excel Templates into HIMPACT
HIMPACT allows you to upload data from an excel template directly, reducing hours of order entry to seconds.
Uploading Excel into HIMPACT
To upload plans, events, and deal information, or to make mass changes to items via an excel upload, you must first download our template to your desktop. Start by going to navigation and then to the DP (data processing) option shown below.
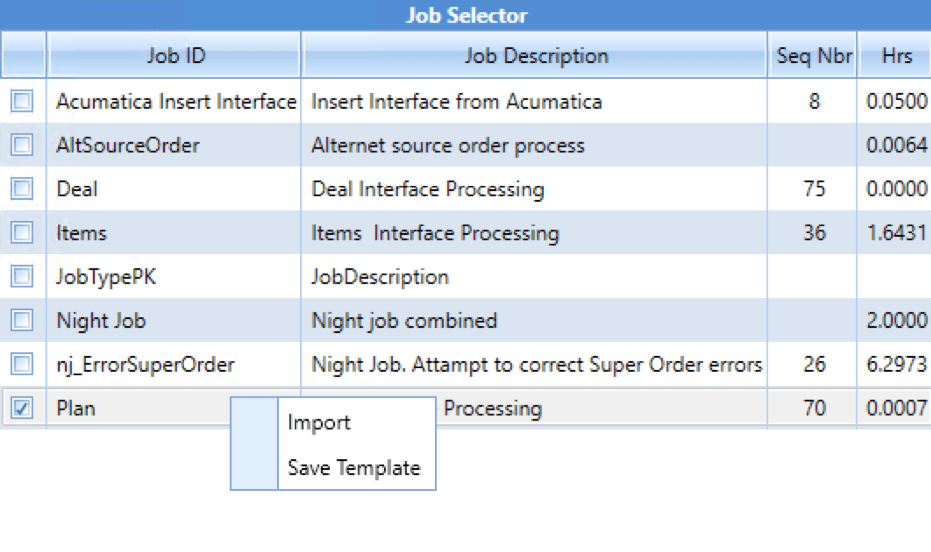
The user can right-click the appropriate row in the DP menu (deal, item or plan) and select “Save Template” to get a fresh, empty excel template. Once you’ve downloaded a blank template, save it to your computer to keep a copy for future use.
After you download the template, you can add the fields that you wish to import. There are some requirements that need to be met, which are listed below by each different upload option.
Deals
Deals normally are sent via your host system to our’s behind the scenes. However, this option allows you to enter several deals at the same time with a few keystrokes.


Required fields for deals are Deal ID, Item ID, and Deal Name. In addition, below are the three columns that are needed and are code-driven on our end. You will need to add the I, S or J in Deal Type to get it to accept properly.
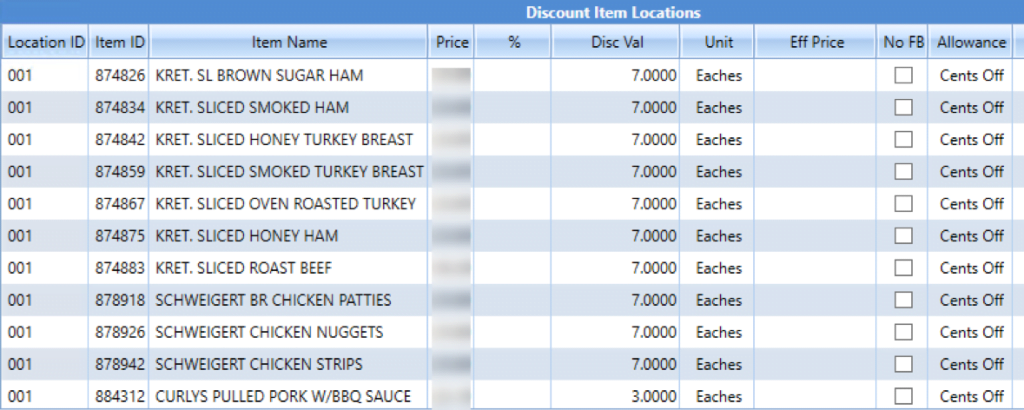
The same goes for allowance type and invoice method, the letter code needs to be added into these columns for the deal to be accepted and applied. Upload takes about 5 seconds and then is ready to be bought against once the order has been refreshed. Deal looks like the screenshot below in HIMPACT, the header is first, then the line item detail.
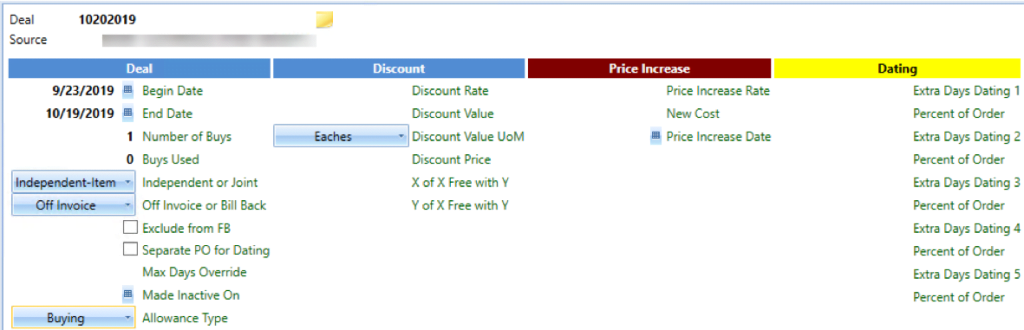
In this example, all these items for this vendor are getting 7% off between 9/23/19-10/19/19
Item Data
If you need to change something on a large number of items and you have the list in excel, use this method instead of using the mass maintenance option. Required fields are Item ID, and Location ID, along with required fields we need to process shown below with their respective options by column.
Options need to be selected by the corresponding number codes in each column shown.
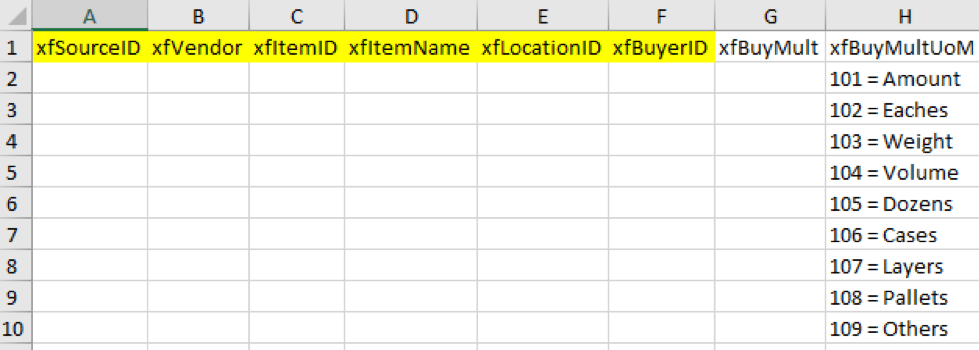
In this option, the user is able to change most item component values needed.
Plans

 The plan type can be entered as the corresponding letter codes shown below.
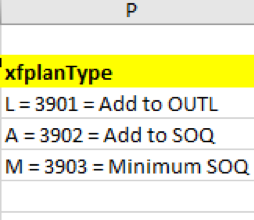 If you are uploading multiple vendors on the same excel sheet, then the xfPlanID field should include the abbreviation of the vendor at the end for clarity. If this was uploaded with 2 vendors on it and one was Kellogg’s, you would add “100619AD KLG”.
Bookings
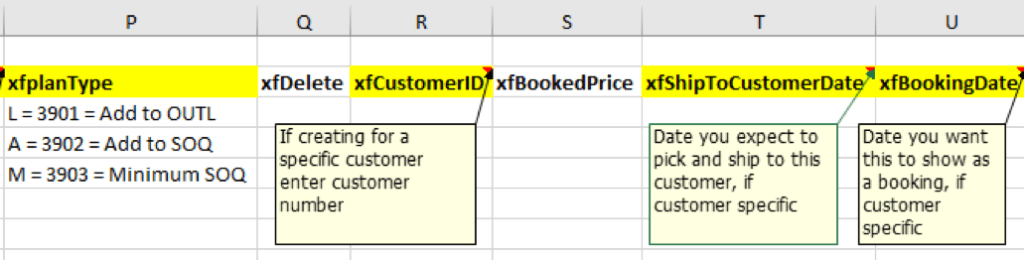 You need to put Customer ID or Chain ID, ship to customer date, and what date the booking was made. This will all help with tracking and fulfilling manual orders you create bookings with.
Uploading
Once the excel template is loaded and ready to upload, you go back to the DP menu, right-click on the option you need (Deal, Item or Plan) and choose import this time.

Next, simply navigate to the location of the populated spreadsheet and select it. You will have to close the sheet in excel and save it before attempting to import it.
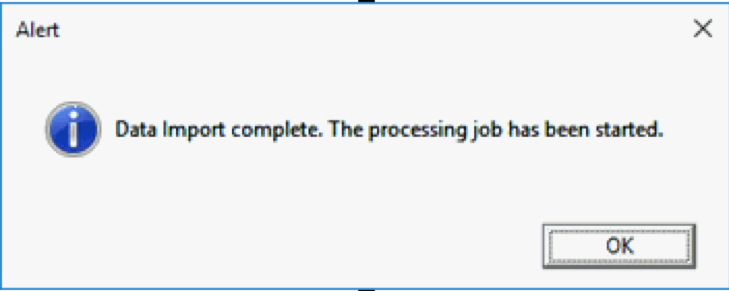
The import will start automatically and will display this message when complete:
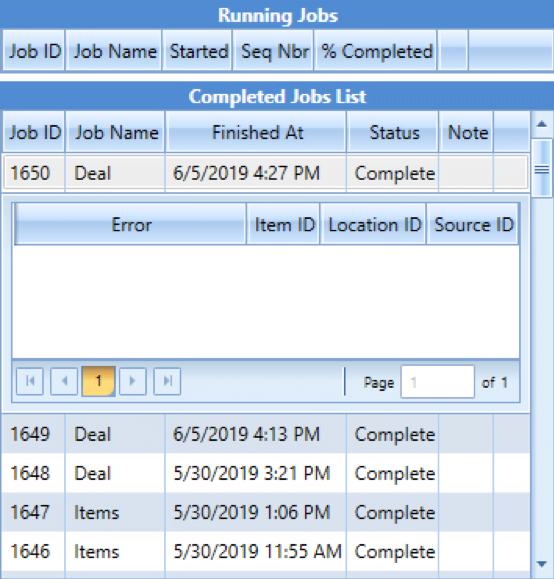
You will also be able to see the progress or delay on the runnings jobs window at the right-hand side of the screen.
This process offers a more efficient and accurate way to upload plans or hold outs for promotional events quicker and easier than manually entering them.
If the upload does not go through when you import the sheet, you will get a popup window showing you which column and row it was not able to get past, allowing you to correct that field and run it again right away.
Normal time to completion is about 10 seconds but could be slightly longer depending on the size of the upload.
To request additional training please contact Bryan Cox, Manager of On Boarding & Buyer Support at bryan@herlitzim.com.